Very few kits that I own (2 at this point) that for what ever reason I will not build. Both are vintage 70's Japanese aircraft. Every other kit I own is for building, I bought it to be built. And the 2 I've got that I'm not going to build I'm satisfied leaving them there.
I found this Airfix Starfigher, in and antiques store early this summer. Everything was still in it and I had never seen this kit before. Plus it's Canadian aircraft, how can I in good conscience pass that up? I paid $5 for it, and found out it's a first edition, from 1963. I really wanted to build it, but at the same time I really wanted to leave it as a display piece.
I rummaged through the sprues nearly everyday since I bought it, and decided, "Just build it". But I wanted to do it right. I love old Matchbox kits, they are my top 3 all time favorites, I love to build them straight out of the box. No no etched metal, no resin, no scratch building. Just give it a good paint job, and build it straight out of the box.
I've seen many modelers go above and beyond the call decking out old vintage kits, that put modern new tooled kits to shame. For me I get a thrill out of just building the kit, and trying to paint it up as best I can. So that's what I aimed for here.

1963, and still looks good.

lead nose wight
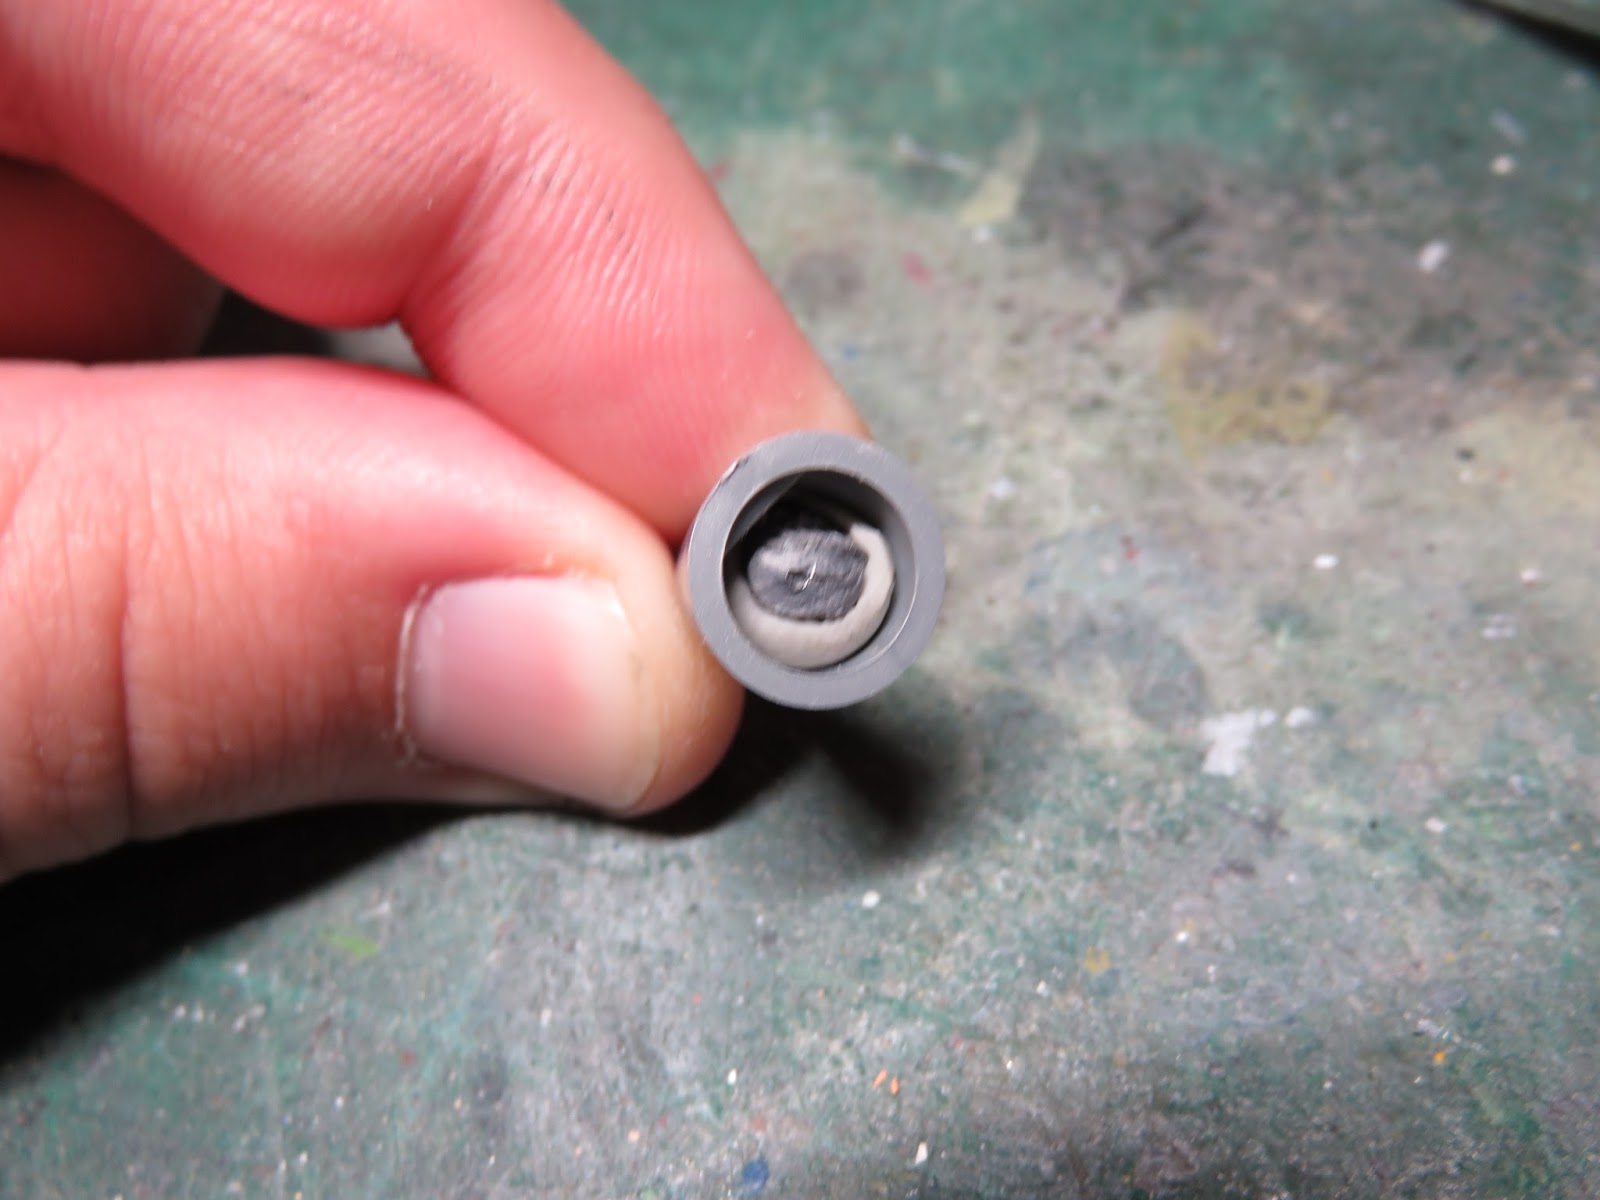
More weight, better safe than tail sitting.

1960's Style Canadian pilot.

Not a busy cockpit, and not that I mind.

Bit of an inaccurate shape for the nose.


Black marks, area's that need putty.

Sanded glass like smooth.


Outboard fins on the wing tanks were shorter. A
quick "snip" from the sprue cutters and it's done.


Even after all these years the canopy is still nice
and clear and hadn't yellowed out.


A bit inaccurate in the frame shape, but I'm really
pleased with how all of this turned out.

Tamiya Bright Red TS-49, had to strip the paint and
try this one again. Got some dirt on it ( from spraying
outdoors with a breeze)

Wing tanks were not confirmed Red, but I thought
that it looked good. Also second attempt painting
the tail.... pebbled up.... not impressed.

Wings painted a light Grey and masked off. I've now
primed the 104 for the gloss Black in preparation
for the silvers.

I decided to try the new Vallejo Metal range paints. These are really cool new paints, and are amazing metallics for acrylic paint. A gloss black under surface is all you need to start. The paints are pre-thinned, a bit too much for my preference. But here I started with Vallejo Duraluminium 77.702.
I was going to paint the entire kit one silver color. But further research showed that the natural metal F-104's had a few different metals near the tail. I decided that adding a few extra silvers would not only look better but be fun to try out.

The kit was missing a tail hook. I know I said no scratch building before, but the fact that this was missing on the kit just kept bothering me. I made the hook out of a copper wire. I hammered the one end flat and then bent the curve.

Vallejo Chrome 77.707. Not as bright as I was hoping,
later discovered, I need a glossier black for a better
shine in the silver.

All 3 colors together. The Chrome and Aluminuim blend a bit more in the pictures but in reality the chrome is much shinier. Also really like the dullness of the Duraluminium.

Nice light Grey wings (Tamiya XF-83).
The rest of the body was painted
Vallejo Aluminium 70.701

This tail is becoming a bother... silver leaved through

I bought some Canadian roundels, from canuckmodels.com. I planned on using these on another Canadian project. But when I got them I fell in love with how nice they were, and made the torn decision to leave the inaccurate Airfix decals, in favour of these beauties. Again I wanted to keep it classic, but wow these look soooooo good. (Also replaced on the fuselage)

1963, will they crack? Will they shatter into a million pieces? Always a risk with old decals, so I bleached them for 2 and half weeks (mostly due to cloudy days) and they bleached out quite fell. Only thing I couldn't remedy was the thick carrier film. Still better than not having them at all.

See what I mean, it's like those roundels are in
High Definition. Check out canuckmodels.com
for some fantastic decal options.

Nearly ready to stand on her own.

Masked off the beige cover on top.

Love those red wing tanks.


Man I was really happy with the end result of this kit. This was such a fun kit. I'd love one day to get their second CF-104, with the new Canadian flag on the tail. It's a vintage kit I think many would quickly pass over, and that's a shame. In all honesty it's not the most accurate example of a F-104 and pretty bare bones on detail.But it's a darn fun kit, and I'm really thrilled to have finally got around to building a new Canadian aircraft, last one was a P-51D.
Playing around with the new Vallejo Metal Color Range, was certainly fun. A bit of learning curve to get used to, but man they really made this kit something special to me.
Got a Matchbox F-104, and yep that's going to be a CF-104 as soon as I get it some decals. And I can't wait to build that one as well.
No comments:
Post a Comment