Oddly enough I actually got into building the "cute/egg" planes because of my sister. She came with me into a model and hobby shop, and found the Hasegawa Egg Plane P-40. She wanted me to teach her how to build it, and so I decided to buy the Egg Zero for myself.
I built it a short time later and immediately became addicted to these crazy kits. They are a nice break from the norm, and are usually simple quick builds. I also had the opportunity to build a MENG Kids He 177 for my local hobby store.
My Dad really enjoyed the He 177 and Zero, and I wanted to build something for him. Sadly at the time the only Luftwaffe kit was a Fw 190, and he wasn't as interested in that one. Then Tiger Models hit the scene. Their line up: F4U Corsair, Ki-84 Hayate, and Bf 109! Well I showed this to my Dad and that was the end.
However this kit took me a long time to complete. I was having troubles with the filler I was using, and that will show on this build. Also with the filler problems, I began to loose interest.
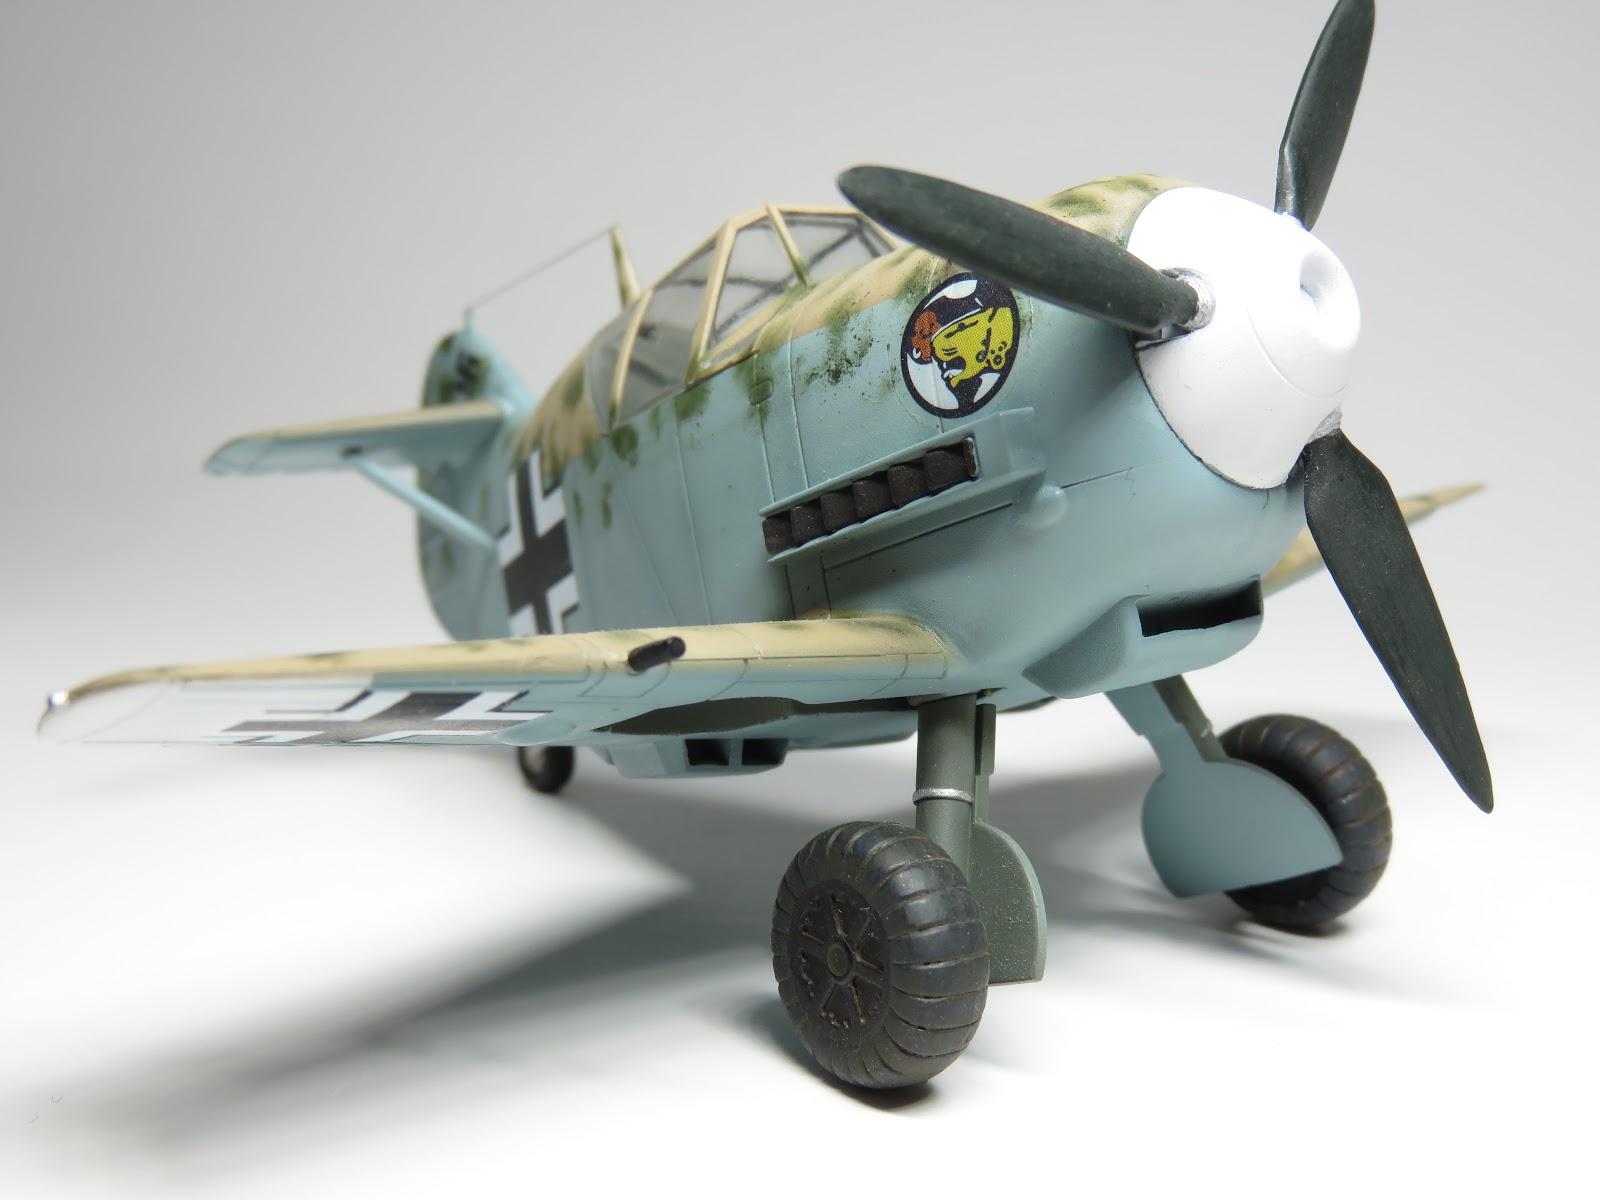
There are 2 decal options. One for a Luftwaffe 109 during the Battle of Britain. And the other in Romanian markings. Since this was for my Dad I decided to build it in his favourite makings: Afrika. I had found a few spare decals for the nose art, and I was now set to build this kit.
And yes, I realize that I didn't add the dust filter. Why? I just couldn't get it to look right.


Tiger Models includes a flat control panel for the decal, as well as a fully detailed version for those wishing to paint the details on.

Compared to the Hasegawa kits, TM includes a basic but detailed cockpit.


I made the seat belts out of surgical tape. And pulled it through some wire. It's no where near accurate, and I intentionally made the buckle loops rounds to reflect the round shape of the over all aircraft. This helped busy up the interior a bit, especially since you can see the details through the canopy quite clearly.

I plugged up the holes for the drop tank. My Dad didn't want it on the plane, and I didn't either. This will help me when I fill them in from the other side.

I must have forgotten to take some pictures, but here it is all assembled. I painted the propeller, and spinner (Tamiya XF-2 Flat White) and covered it with Maskol. The blue I used is Tamiya XF-23 lightened with about 30-40% white. (I 'm surprised I'm remembering this given I built this quite a while ago)


The wing tips were also painted flat white as part of this particular scheme.


Base coat layer, I used Tamiya XF-72 Brown JGSDF.


For the next layer I used a 50-50 mix of XF-78 Wooden Deck Tan, and XF-59 Desert Yellow. I'm was actually more than thrilled with the end result. I've built a few Africa based 109's before but this was the first time I was truly happy with the color.


With the remaining paint in my airbrush I added some white to the mix. This would hopefully give the appearance of a faded 109, beaten by the harsh winds and sun.


I was so happy with the painting on this one I contemplated leaving off the green splotches.


I very lightly painted on XF-13 J.A Green. I thought about painting them on darker, but I actually quite like the effect of these splotches being softer. The big concern while painting was to try and not paint a ton of these splotches. I had to keep in mind to go easy and spread them out all over the aircraft. I think I found the right balance.


I added on the decals next, and as far as I remember they went on quite well. I had to grab a pair of swastikas for the tail, they are not included with the kit. Over all this is a really fun build. The fit of it is pretty good, and nearly perfect. I forgot to mention that these are snap kits, that come with decals and stickers.
If you've got a youngster that you are interested in introducing to the world of model kits. This might just be the kit to get started with. However beware, these cute/egg planes are addictive. Once you build one you'll soon find yourself browsing for more online.
I think the best part of this kit was finally giving it to my Dad. It took me half a year of slowly working on it to have it completed. And he loves this thing! He keeps on his office desk, and is really happy that it's in his favourite scheme. Kinda makes me feel guilty that I didn't complete it earlier.