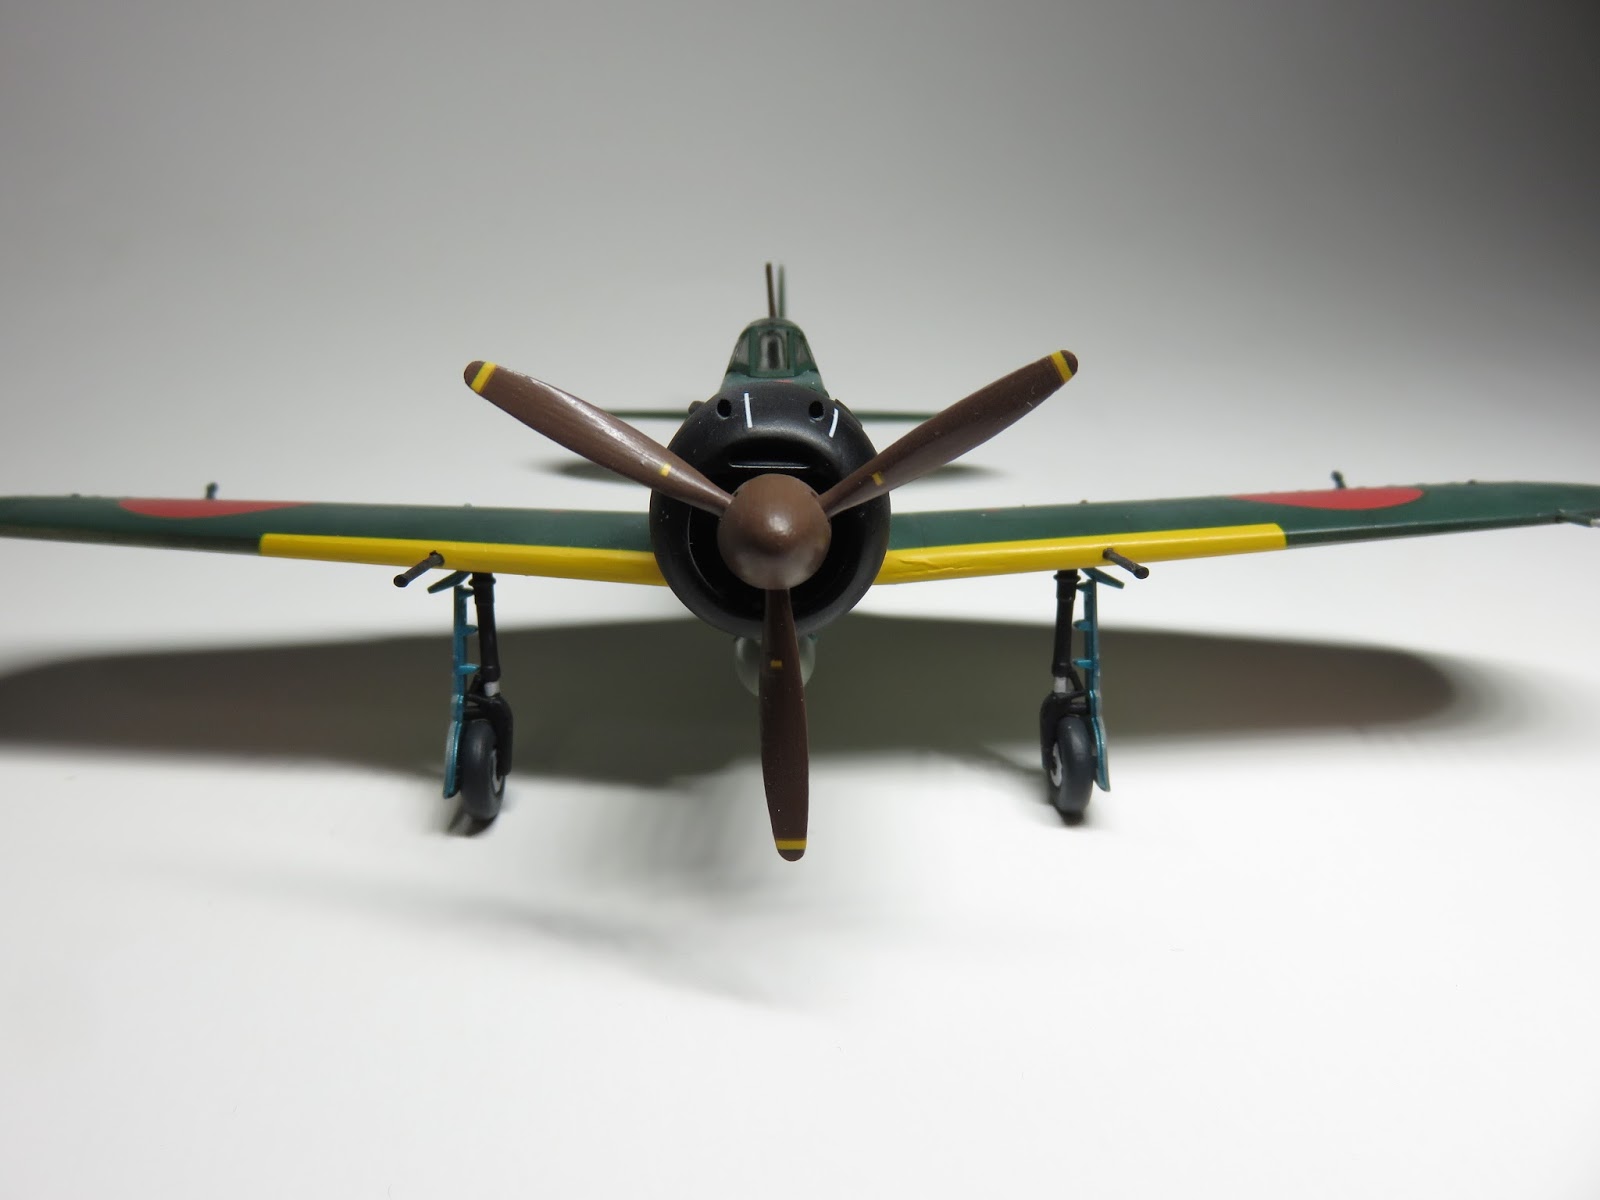
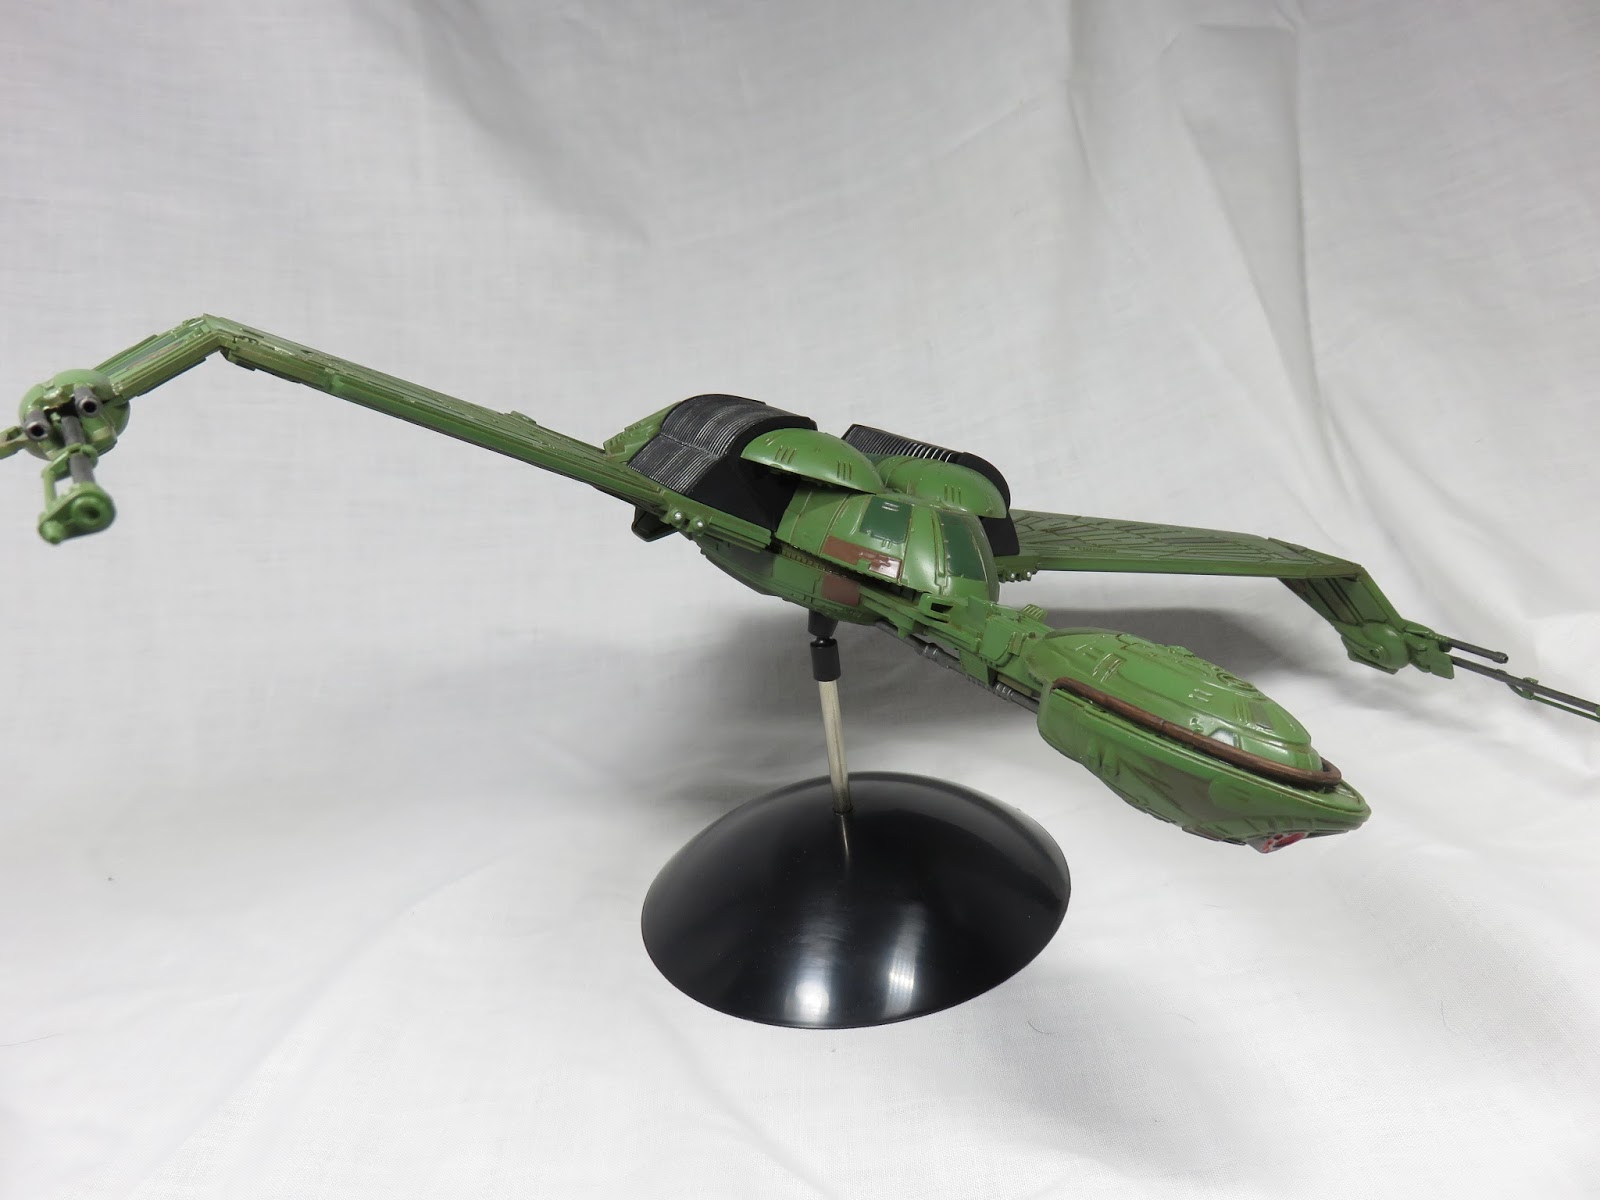
I finally bought an AMT Klingon Bird of Prey this summer. One of my all time favorite Star Trek Ships. It's a mean and aggressive menace, which made it's first movie appearance in Star Trek III -The Search for Spock. And continued to be used well into the IV,V,VI and VII movies, and The Next Generation, and Deep Space Nine. With an early version appearing in the Enterprise Series.
It's a decent kit for an older AMT. The detail is acceptable, with room for a modeler to add more. The only thing I've really contended with on the build has been some really huge gaps. (I'll post pictures of that later)
The disruptor cannons had some sad deep injector pin marks. I could have filled them in, but decided a better route was to cut em up and replace them with brass rod. I saved a few of the plastic parts, simply because they were still good for me to use and it would mean I wouldn't have to spend more time replacing them.
I'm very happy with the final result.
First painting, the "feathers" on the wings. I began with Tamiya XF-7 Flat Red, and decided to add a bit of weathering, by lightly painting a very thinned XF- 68 NATO Brown. I them glossed the panel with Future. And proceeded the long and daunting task of masking the feathers. This took me over a week, but there they are. Never before in my life have I wished there were precut masks for a kit.
I decided these "vents" should be painted. Painted they certainly would add a bit more character to the Birds. I painted them XF-1 Flat Black, and after words simply dry brushed XF-16 Flat Aluminium. Adding to the effect that these ships have been used a lot for long periods of time.
Update Dec 27, 2016
I'll be adding in the colors for this build later on.
I began by painting the landing bay doors a nice Grey. I'd seen this once and thought it was a nice way to add a bit more color to basically and all green model. I then added a few spots of brown, this helped again break the monotony of a mostly green model. I think it worked quite well, simply placing it in a few area's.
I took all my green paints and for a very, very...... long time, carefully considered my color choices. Which greens to use and where. After I chose my paints I took to the instructions, where another complicated task lay before me. Where was I going to put all the paints? I tossed long with the placement, and I did use a few of the color suggestions in the instructions. This was the worst part of the build thus far. But I think my color placements worked out quite well in the end.
I worried that I had over used my green paints, possibly choosing 1 or 2 too many. But I think once the model is completed and sitting on the shelf I'll be much more pleased with the abundance of extra colors. I'm really pleased with how the small brown squares stand out among the green. And the Grey on the bay doors somehow seems to blend in with the model and not stand out.
Possibly the most rewarding process was the reveal of the countless hours of masking the red. I was initially worried that I had used too dull a Red, especially after painting on the thinned NATO Brown. I was more than thrilled the intensity it actually presented. The gloss coat doesn't do the pictures the justice it really presents. One the dull coat is on I'm quite certain it will be the look I had envisioned all along.
All that work carefully masking off each pattern and not much if really any bleed through. If there is any I'm going to stipple some Metallic Grey on, to represent some battle damage. I've found with Sci-fi projects Metallic Grey - Gun Metal colors present them selves a lot more than silver. And to me they simply look better and more "realistic" to the piece.
After the long decision to choose all the greens to use on the different panels. Came a longer decision, "What to paint the entire, over all green"? Based on pictures I had studied of the studio models, I concluded that Tamiya XF-71 Cockpit green was the best candidate. However upon studying the paints for the panels. I found that XF-5 Flat Green was also a very close color.
So I mixed them both, about a 50-50 mix. This took a lot of paint to cover both models, and properly paint a good thick layer. In the dark the color isn't what I was expecting, or really hoping for. But under proper light or even direct sunlight WOW, this really looks close to the color I was imagining.
Lastly I've glossed the model twice with future. This in preparation for the decals and the enamel brown wash to cover the entire model.
Update: January 9, 2017
(Left) AMT decals, brighter and Red (Right) Round 2, I quite like both color options. Both settled down very well and reacted nicely to the decal solvent.
AMT Left - Round 2 Right
I had seen this done once before and thought this was the kit to test this out on. I took Tamiya "Panel Line Accent Color" (Brown) And poured it straight to the airbrush, and sprayed it on the model. Awkwardly the gloss finish I painted on previously, caused the paint to bead up and roll off the model. I adjusted my pressure to a lower air output and held the airbrush back farther.
It worked out fairly well, however next time I'll simply brush it on myself, using a wide brush. This will be easier to use and I won't be putting the smell of thinned enamels in the room, lingering for a few hours.
After they dried over night (about 12 hours) I took some mineral spirits on a a wide brush and proceeded to brush the mineral spirits on the surface. I then took an old rag and wiped the surface from top to bottom. This helped create a nice streaked and weathered looking surface. It took me a while to get them cleaned properly but ti was all well worth it.
The engines were an odd painting challenge. The top and bottom is Red. The middle is yellow, and the squares are white. Sure thing. So I began by painting it all flat black. And then a few layers of XF-16 Flat Aluminium.
I painted Tamiya X-27 Clear red on the sides. Took a few coats, but the under coat of silver gives the clear paints a nice false luminescence. Next X-26 Clear Orange, and X-24 Clear Yellow.
The frame was final part painted, XF-56 Metallic Grey. All said and done I'm really pleased with how this turned out. And it was quite fun to paint.
The Grills on the wings were painted a Flat Black (XF-1) and the raised ridges were dry brushed with Metallic Grey (XF-56) I find it's better than using silver since it blends in better with the black and isn't as intense as the silver chipping on the bottom of the wings.
The Grills fit very securely to the wings and then to the hull. I was really hoping it would be a good fit, and I was quite relieved when they were finally hanging on the ship. But just to be safe (or keep my nerves at bay) I super glued them to the hull.
I painted the barrels XF-56 Metallic Grey. I've seen most pictures with them painted the same green as the hull. But I ran out of my custom green paint and missed a few spots. I actually prefer them grey. I think they stand out much more.
The front ring on the nose of the ship was the last part to be painted.
I began with Tamiya XF-64 Red Brown.
And then dry brushed Citadel Ryza Rust. Trying not to make it too obnoxious.
Lastly Citadel Agrax Earthshade, over the entire frame.
Glued on, I'm really happy with this piece. It's needed to be a bit brighter, and have a worn and rusted texture. It's one of the first things I notice on the Bird of Prey, and I think mine stands out nicely.
Updated January 12, 2017