This was a kit I was really excited about finding. These are surprisingly expensive online and I happened to find 2 of these in an antiques store. I picked the better looking one of the two. This was the older bagged version of the kit. And the Boomerang is something of a special aircraft, I thought I'd never see again.
I built one of these when I was an early teen, and at this point I was getting more interested and invested in scale models. I had an Airfix catalog that I remember nearly everyday I would study. Pouring through the box art imagining what my next kit was going to be.
Somehow I found out that there was going to be a release of the Boomerang. And I had told my Dad to keep and eye out for one in the hobby shop. And one day he brought this home.
Now I was way too excited. I built this in such a hurry, that I remember breaking one of the cannons, and landing gear struts. And I think that I snapped the canopy in half. It's been one of those kits that I've wanted to build again and build it right. Now this was my chance.


The decals were yellowed and useless. Nothing was going to bring these back to life. So I bought a set from Special Hobby. This also allowed me to have a better looking aircraft as well.


I didn't want to add any details. Just try and keep it as vintage as it is. Basically the same as how I built it in my youth.


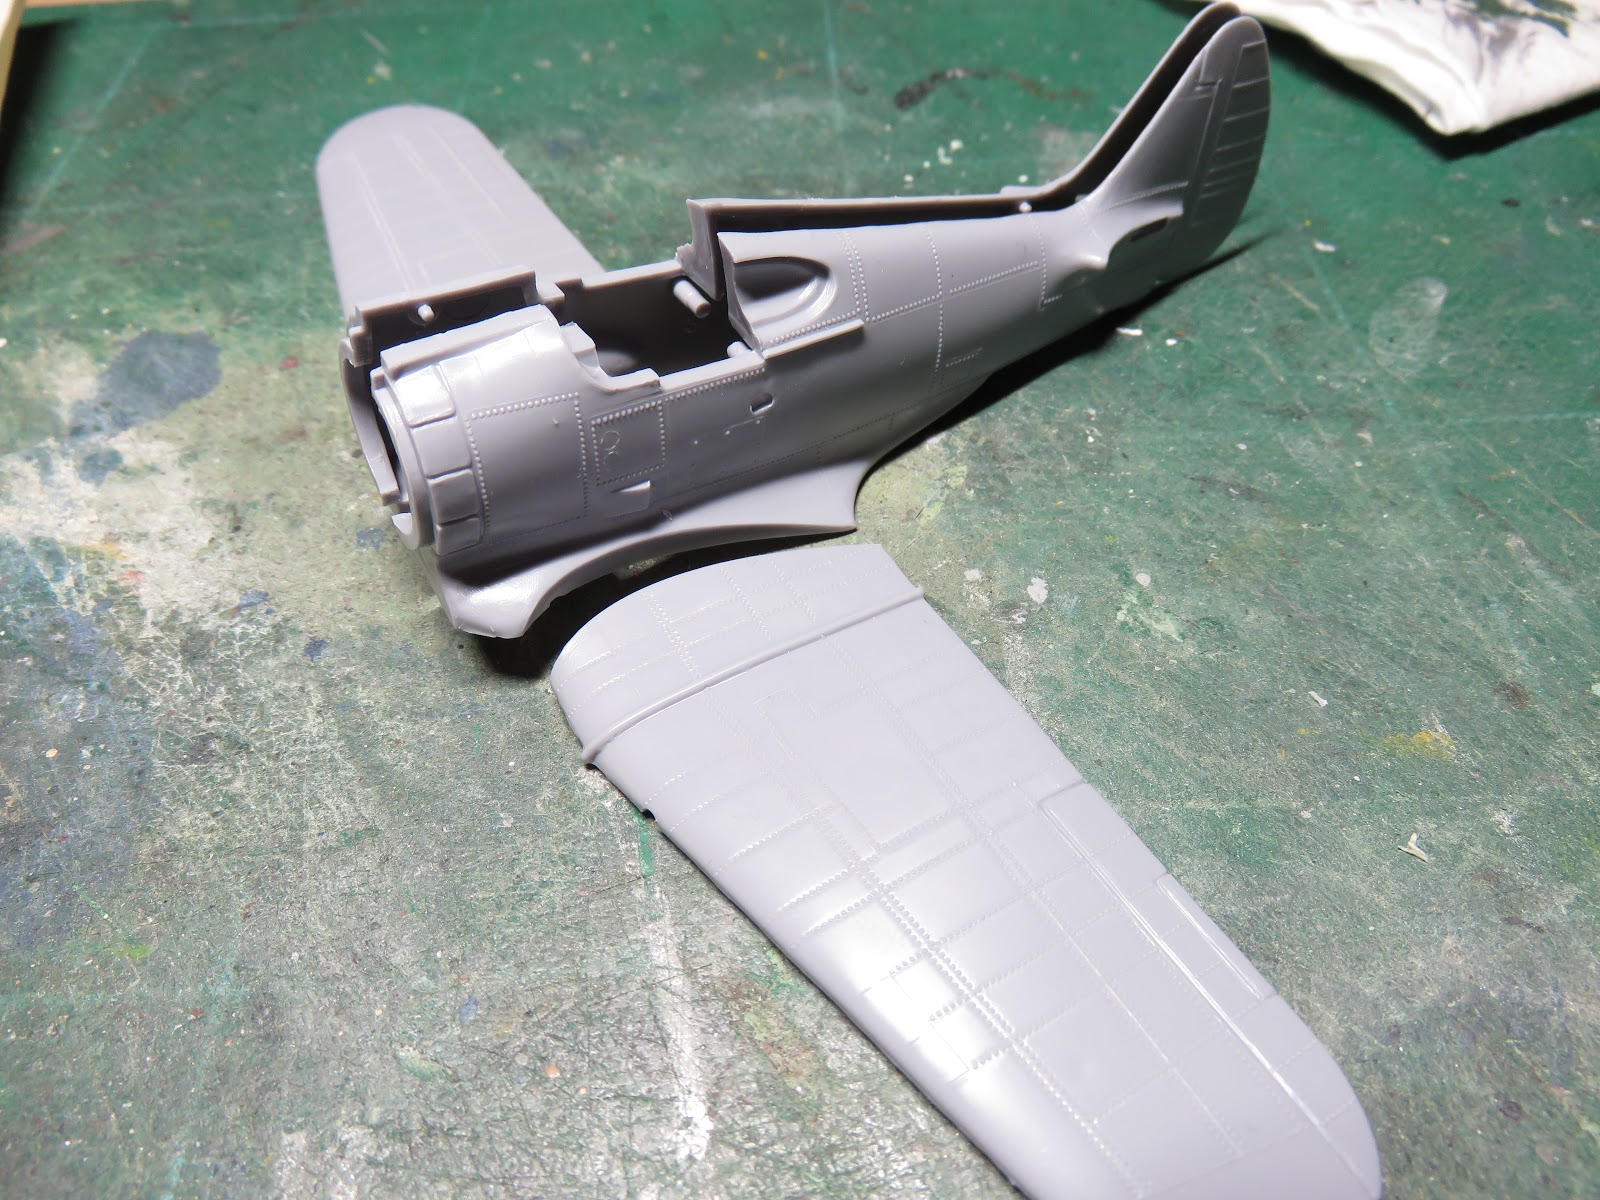
This kit was a "filler Queen" in every sense of the word. Every nook, cranny, wing root, spine, and cowling had to be filled in.


I commissioned my brother to re sculpt the nose with Green Stuff epoxy. He did an amazing job, but was a bit too high. I was really sad to have to sand a bunch of this down.


The only extra detail I added was a oval cushion for a head rest.

Masking the canopy was a unique challenge. All the frame lines were barely visible. So I resorted to gutting thin strips of tape, and filling it in with Humbrol Maskol.


I'm really kicking myself that I didn't write down the paint mixture I used on the Brown. But I was really pleased with the tone that it displayed. Afterwards I began masking, this was a very fun process


I'm sure that I used Tamiya XF-26 Deep Green. I wanted to keep the colors lighter as I had seen on many RAAF aircraft examples.


Next masking off the tail and painting XF-2 Flat white. Originally I used a white primer, but this dried way too quickly, and sand pebbled on me so I had to sand it down and try with the XF-2.


I took care this time to not repeat my mistakes of breaking one of the canons. They are really fragile.


The Boomerang I had chosen has fantastic white bands running down the wings. As well as a white spinner.


I had trouble with special Hobby decals on another kit. But this time I was really pleased with how well they reacted and conformed to the model. They nicely dressed everything together. I was also excited to see them melt over all those rivet details.


I don't like the color XF-76 IJN grey for Japanese aircraft. I find it's too dark for my liking. But I did use it for the wing struts. And I think it's a perfect color for this. As well as a few interior colors.

Lastly a flat base over the entire model. The propeller was added, and I removed the window maskings and cleaned them up a bit. And this model was at long last completed.


I don't ever plan on building another one of these. It was a fun build, but a lot of work to get it up to today's standards. Filling and sanding were of very little concern when I was younger, but seeing it now, I'm really glad I stuck to this kit. This one sits very happily on my shelf.
