Two years ago I built the new tooled Bandai 1:72 Resistance X-wing fighter, in the Blue/Grey configuration. A short time later Bandai released the Black & Orange Poe Dameron X-wing. This one had an advantage over the first X-wing as it came with a new Astromech droid, and BB-8. I wanted to replace the BB-8 unit with a different Astromech. So when my brother said that he was going to buy an X-wing I asked him to buy this kit allowing me to have the droid I wanted.
My brother was going to build this as a custom X-wing, with Gold and Red Markings. He got quite far in many respects, but then the momentum of the build fell short. A few months later I wanted to build Poe's X-wing, and thought about getting the new 1:144 kit. Only to remember that my brother had the 1:72 kit. So I asked if I could build it, and he gave it to me.
Like I said most of it was already built, so for the most part I was just cleaning the model, and painting. I abandoned this kit for a few weeks, and then told myself I had better finish it now, or I probably wouldn't until the next year. So with that here is my build.


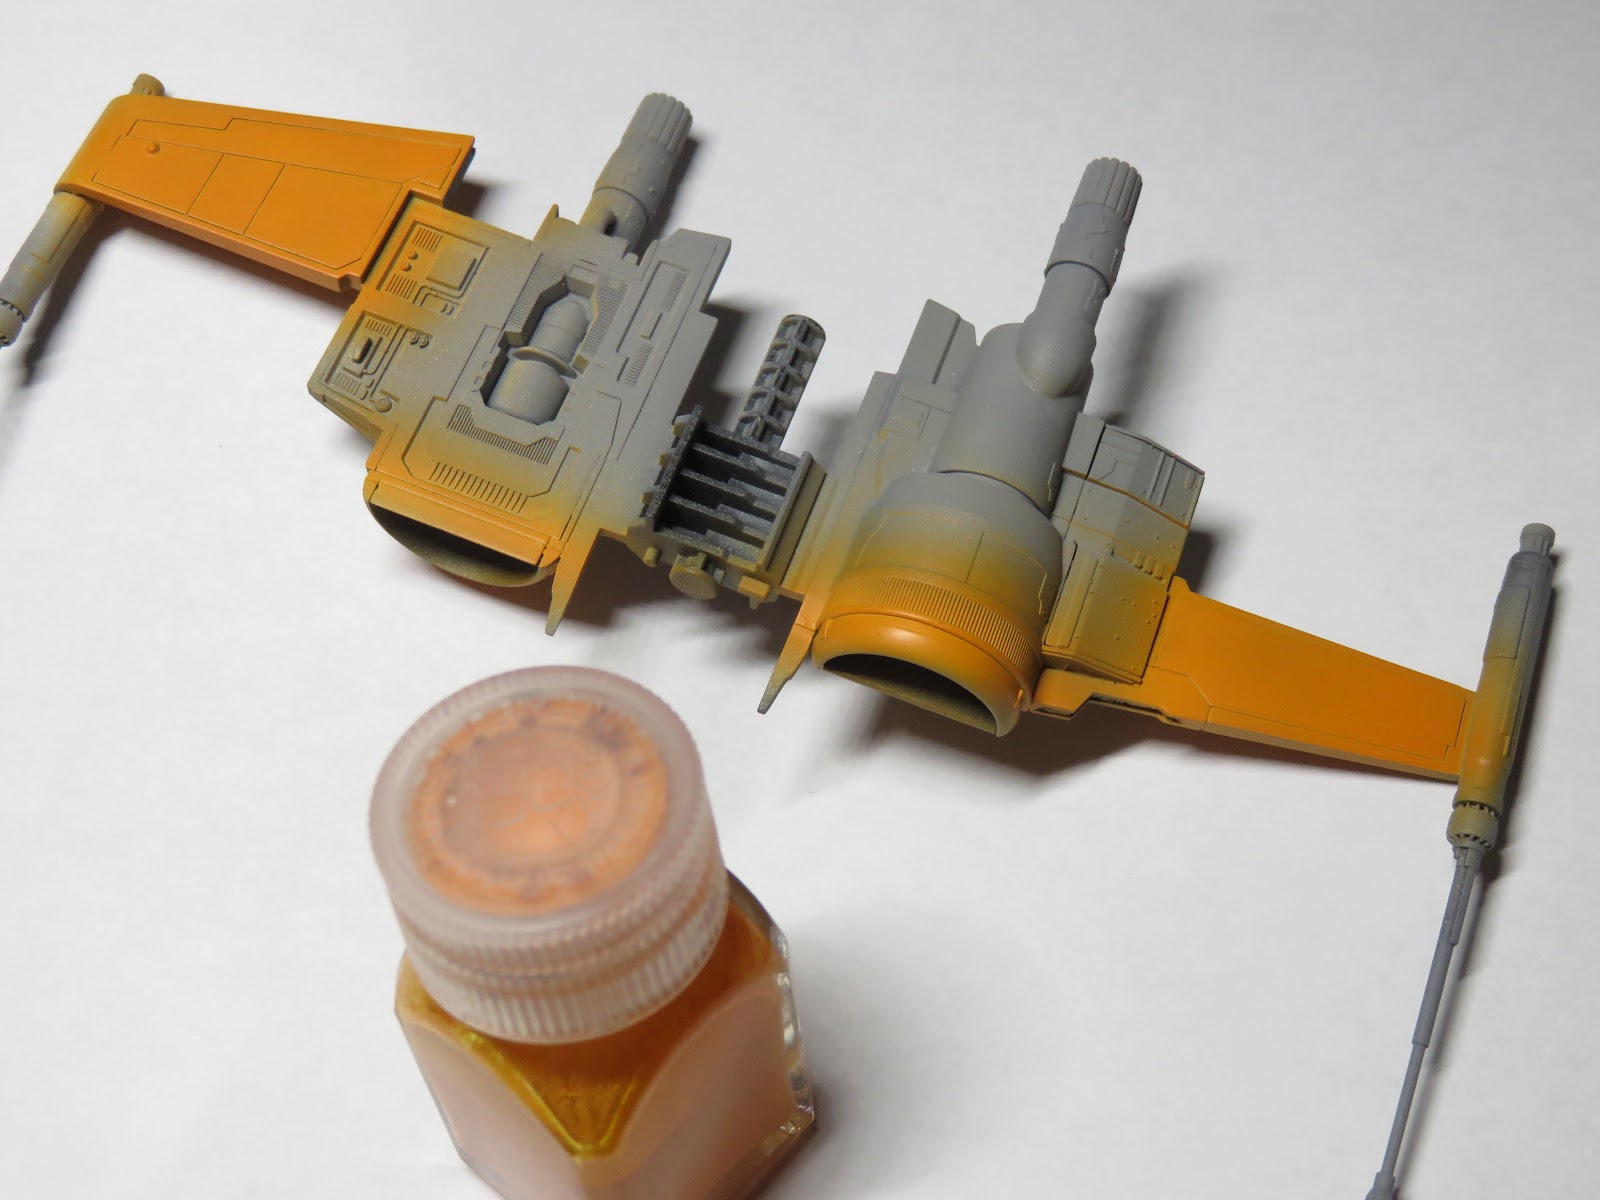
I mixed this custom Orange for a Bell X-1 project. It's about 60-70% Vallejo Mecha Color Yellow, and the rest, is Mecha Color Orange. I didn't want an obnoxiously bright orange, and I think this suited the model quite well.

Next came a fun but long task. A lot of masking! I masked over all the orange parts. Be sure to cover the orange parts around the engine intakes. Bandai also provides stickers and decals for all of this. So should the modeler wish you, just have to paint it all black, and apply the decals, and you are done.


I'm not sure how the identification markings work on the new Star Wars films. But each bar used to represent the call sign of the pilot. Red Leader in a New Hope, had one bar, for Red 1 or Red Leader. Poe Dameron is Black leader, with 3 Orange bars, and 2 Grey. Just not sure if these mean anything anymore, or are just a decorative marking?

All of the Sky Grey (Tamiya XF-19) sections have been masked off.

I think I used Vallejo Metal Color Aluminum for the intakes, and cannon barrels. The intakes were a bit of a challenge to mask. I applied tape around the edge, and then cut the outer portion of the tape. This allowed me to fold it in. I applied a masking agent to seal in the tape and prevent it from opening.

Next I painted the overall color XF-1 Flat Black. I then added area's of XF-77 IJN Grey. This grey was going to be a contrast color, hopefully providing a faded effect for the last and blending color XF-69 NATO Black. This worked to and extent. Due to the dark colors, and an inadequate light source to paint with I used too much, and covered most of the XF-77. The reason for the XF-69, was to give the Flat Black a more faded and used look. XF-69 is a really nice color and has a fantastic grey tint to it, perfectly displaying a burnt, worn out black effect.

Now the maskings were removed, and I was relieved that no paint had bled through. The cockpit was painted by my brother, and I liked the details so much I wanted to keep them. The pilot was painted in custom markings. And I didn't want to use the kit supplied decals. They do the job, but just don't look as good as this one, which has been hand painted, including the Rebel insignia on the side of the helmet.

I originally planned this build to have a silver base coat, and I would apply a masking agent, remove it and show the chipped detail. But the masking agent I wanted froze in transport. So I opted the old fashioned route, painting it on.


Poe's canopy is a darker shade of Silver then the rest of the ship. I used Vallejo Metal Color Duraluminuim. This perfectly matched what I had in mind, and I loved the contrast next to the black and orange.


I used Tamiya weathering sets to produce the burnt after burners effect. First I applied some black, and then nearer the edges some metallic blue. I had fun creating this effect, and I'm really pleased with how they look.


Now that the decals and silver chipped areas were finished I wanted to add a bit more weathering. This is really hard to do on a mostly black subject, so I only used it on the Orange and Grey areas.
I applied a black oil wash to the model, and using Mineral Sprites I pushed the paint around and dabbed it to produce grim. I did the same thing on the wings, but pulled the oil paints across the wings.


Nearing the home plate at this point. I coated the model with a flat coat and left it to dry properly for a good 48 hours. Then came time to assemble the X-wing. I glued the wings in an attack position They will open and close for a while, but on my other X-wing I found that the silver tabs holding the wings in place give out.

Lastly I placed some Tamiya Snow effects on the base, to represent the attack in Star Killer Base. the outside edge was painted Flat Black to help it stand out from a table surface. I placed my older BB-8 (which my brother also painted) into the X-wing, and this kit was at last completed.
Given the fact that these newer Star Wars movies aren't as popular, and this new style X-wing isn't too much my favourite. I still really enjoyed building it. I had a lot of fun making the scratches, and messing around with the oils to try and create new weathered sections. And I'm happy that my small BB-8 figure has a home where he won't get lost. Plus I think this had made for an excellent companion to my Resistance X-wing.


Very nice! And you painted the markings instead of using decals. I should try that sometime.
ReplyDeleteGreat build. Hope mine will come out similar.
ReplyDeleteNoticed you deleted all your YouTube content. I'm sad to see you leave.