Designed by famed aviation engineer Jiro Horikoshi, the fighter was successful in it's role for a period of time, however due to advances in Europe the A5M was becoming obsolete. The A5M stayed in service until the end of WWII. It was replaced by Horikoshi's more famous A6M Zero, but continued in some areas to be a fighter and then trainer. During the ending years of WWII the A5M's were turned into Kamikaze fighters.
The A5M was a high priority on my modeling list, and thankfully Hobby Boss had just built a new one a few years ago. It's a basic kit but a very good one, featuring great external detail, and an easy build.

Hobby Boss 1:72 A5M
Yearly I look forward to the month of May, that means that the Shizuoka hobby show is coming, and the Greg @ stevethefishdotnet is going to attend the show in Shizuoka. You can see his videos covering the 2015 show here: Part 1 , Part 2, Part 3. as Greg toured the show he made his way to the SWEET booth. I've known about SWEET models and that they only want to build kits in 1:144th scale, and it's totally worth it, SWEET have really raised the bar on quality and detail in these tiny kits, they have a wide variety of model kits (including a large variant of Zeros). So a few weeks ago I was surprised to see a parcel in the mail from Greg, inside was a SWEET new tooled A5M kit. Along with a note that this kit isn't suppose to be released until June (I got it June 3rd), So thanks again Greg for this kit.

Color Painting Guide


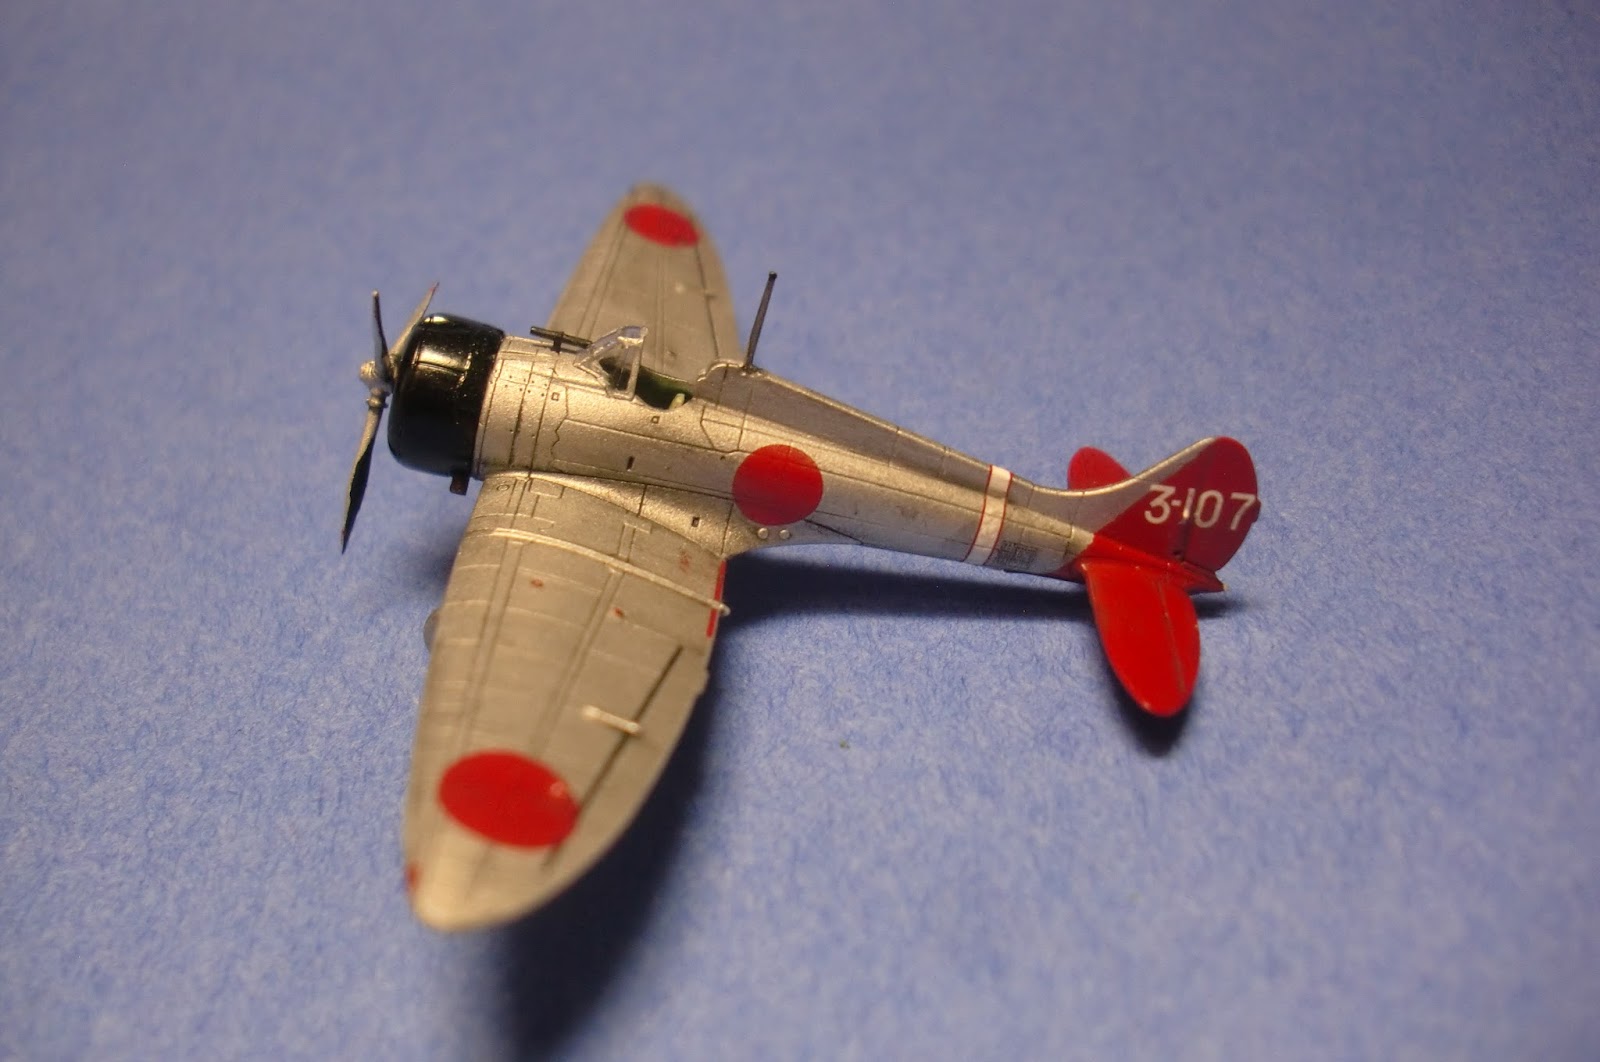
Saburo Sakai's A5M awesome!

Cleanly moulded, with more detail than
the Hobby Boss kit.

Opposite side, no Cockpit detail.


Crystal Clear Parts.


I assume are Decal Instructions.

Cartograf Decals :) Check out the tiny stencils

Easy to read instructions.
I'm going to be starting this kit soon, and to be honest the level of detail in this kit is impressive. Even with the open cockpit there's no interior detail save a bucket was amazed as to how clear the window is, you can read through it. The only things that worry me about the kit are the R & L White/Red bands on the fuselage, but since they're made by Cartograf I'm a bit more relaxed. Lastly is masking off the Red tail, and getting it all to properly conform over the model, but I'm sure it will all work out. This is going to be a fun build.
The Build
All right time to get building this kit. Fist of all there are modellers out there who get really mad when a 1:144th scale kit doesn't have any interior detail. I'm not one of those. To each his own, I really don't care, but since it's an opened canopy I decided to at least add a seatbelt. As it would be something seen. I've got a decal of one from a Tamiya 1:72 Zero, I them photocopied it down to the proper size and cut it out. I painted it with Tamiya Weathering kit "A" and glued it to the seat. A small detail but one I think is necessary to the model.


The overall assembly of the kit is beautiful, I used very little filler on it, mainly on the bottom of the wing to fuselage gap. That blended over nicely and the plastic quality is unlike anything I've ever seen before, it's very tough and bonds together very well with Tamiya glue.


I used Testors Enamel Flat Aluminium for this build, as the Testors metallic colors level really well compared to Tamiya Acrylics. I felt this was necessary on this model due to its small size, I really wanted to keep the details. I used Tamiya X-7 Gloss Red for the tail, It's a really nice color and it levelled well. I thought that taping the slanted tail line was going to be difficult, but just taking some more time to be patient really got me through, and after all my efforts I was thrilled to find no bleeding.


The best Cartograph decals I've ever used were on Airfix's 1:72 new tooled P-51D (Tuskegee), These were a very close second place, nearly tied for first. Absolutely wonderful, which it something you'd want with a small scale, no fuss. The 2 decals that worried me the most were the white bands on the fuselage, but with a but extra Decal Solvent I left them alone for 5 minutes and came back, they fit perfectly into the crevices, and then an hour later perfectly conformed to the surface details. What's also great is that SWEET gives you a few spare decals in case something goes wrong, or you loose a decal on you finger.

I then gave the model a panel line wash, and cleaned it up. some of the panel lines were to small to keep the paint but over all it gave the model a war weary look which I really liked having. I then added on the clear parts and the engine cowling, which was painted with Tamiya X-18 Semi-Gloss Black.

I had planned on a simple display base but that idea quickly snow balled out of control. I spray painted a biscuit tin lid Black, and layered some Citadel "Green Stuff" on the base. Then a layer of Tamiya "Diorama Texture Paint" Light Sand. It's a weird cool paint that applies very well, I then uses Tamiya 2-part Epoxy to make sand bags, but I couldn't get them to be the right shape. So I searched through my books to see what was really done on the airfields.


I found some laminated wood, and made these small sheets, then gluing them to the sides of the putty, I added the Sand on the insides, and cut small pieces of balsa wood to create the beams and braces on top.


I found some ting N scale metal barrels that would make great gas barrels. I then added various layers of grasses and shrubs to further the detail. I wanted to show a story of workers fuelling up the drop tank, so I left it off the model and scratch built a small trolley out of styrene. I them placed the barrels and scratch built a fuelling pump and hose. I'm very pleased with how the whole base turned out, the only thing left was to add N scale figures. I went looking for a train yard crews but I couldn't find anything that fit properly, nothing I could paint into a Japanese aircrew so I'll continue on my search for that.


I'm very happy with the end result of this kit. It's a fantastic build with no fuss. The small scale might turn some modellers off but it's a nice break. And an odd psychological game to see how much detail you can add into the kit. I was a fan of SWEET models before, but not that I've built one I'm a huge Fan.
No comments:
Post a Comment