Monday, July 31, 2017

MENG -/- Tiger 1 (World-War Toons)

I'ts always a pleasure to walk into my local hobby store and see something unexpected. My brother sent me pictures of this funny looking squished up tiger tank, and I told him to get one. He went back 2 days later and picked it up.


Hasegawa came out with their "Egg Plane" series in the 80's and lately that series has been gaining in popularity. Tiger Models has released a few of their own, and some of you may remember that I built the MENG Kids He 177, a while ago. So MENG has 4 of their own squished up cute aircraft (note to self, buy the B-17 and Lancaster) Even Fujimi got in on the action a while back and built a series of Japanese ships, (Note to self get the I.J.N Yamato & Kongo) So it looks like these "Cute/Kid/Egg" type models are still quite popular and here to stay.


So based on the box, this Tiger 1 is from a video game, I think I'll check it out later. But in the first wave, we got a Tiger, and Sherman (the Sherman was sold otherwise you would see a review of that one too) And recently adding a King Tiger, and a KV-2.


I've seen these kits posted around and I was really curious about the build. For just $17 CDN, you are getting a lot out of this kit.


Rubber tracks might turn away some modelers, but the included
poly caps are designed to allow the model to roll.

1 piece tracks, and they are molded extremely well.

Upper hull has lots of molded on details. Also note
the bent skirts and front, a nice touch.


x2

Main turret assembly, and sides.


Personally I think out of the box this kit looks amazing. I'll have to wait and see if it follows through with the construction. A few things that were a bit of a let down. The main barrel is molded in 2 parts, while the smoke grenades feature slide molding. I'm just not sure why they didn't mold the barrel in 1 piece and the flash suppressor in another, again using the slide molding.

One of my biggest gripes with these types of kits is the lack of any people to got with it. Like Hasegawa, MENG have put a cartoon German soldier on the box, but one isn't included with the kit. I know this is probably just a character from the game, but then why have the commanders hatch open? Why not include a tank commander?

But really that's it, any complaint or annoyance I have at this point in time is just null. Again for the price of this kit you are getting a lot out of it. I'm really interested in getting for myself the Sherman or the King Tiger, this looks like a really fun kit. And a perfect starting kit for any beginner modeler out there. 


Friday, July 14, 2017

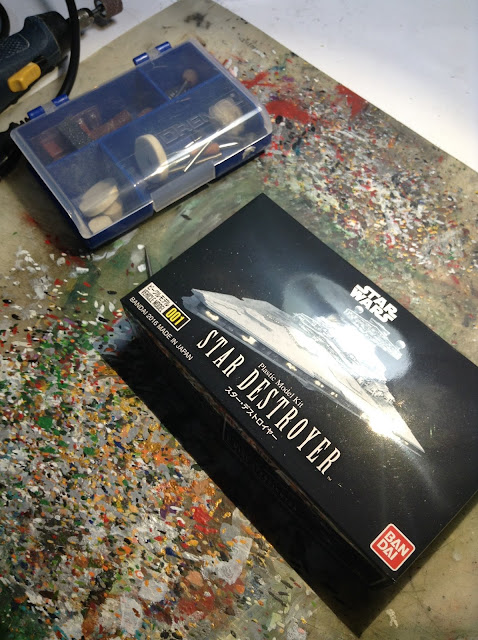
Bandai Star Destroyer 001 -- "Crashed on Jakku"


Hello everyone, Das Wolfgarde here, and here's my step by step building of my Imperial Star Destroyer diorama.  


When my brother, Rebelsatcloudnine, heard I was building a diorama of Star Destroyer, he suspected I just give the base a stary base or something. He didn't expect that I was in fact planning on building a crashed Star Destroyer. Honestly, what was he thinking I was going to do,?  

The plan was to build a crashed Star Destroyer on Jakku, as seen in the beginning of The Force Awakens. So here I am making a template on a small wooden base with the two half's of the ship to get the idea of a good base size and what kind of diorama I could make.

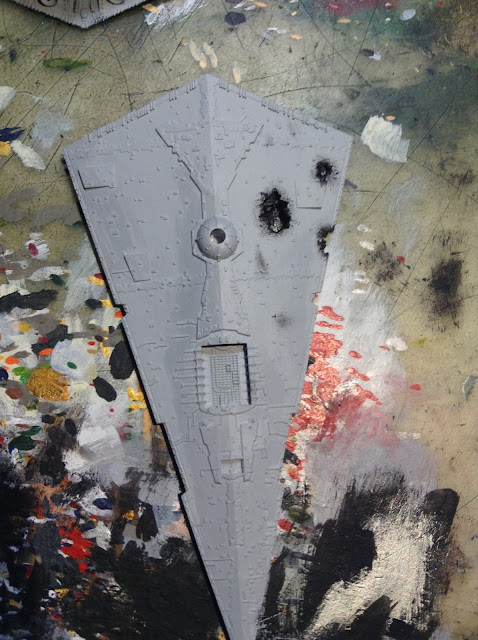
And here we begin the long some and gruesome job of marking parts of the model I planned on grinding down with a Dremel so I can make explosions where the hull had been breached. This took longer to do than building the rest of the model...


I held the various parts up to a light to see if I had drilled enough of the model out to make the blast marks.


Putting the fighter bay in.


Building the bridge.


Drilling a bit out on the neck to the bridge.


And a bit on the back of the ship.


"Destroying" one of the spheres on the top of the bridge.


Blasting apart one of the engines.


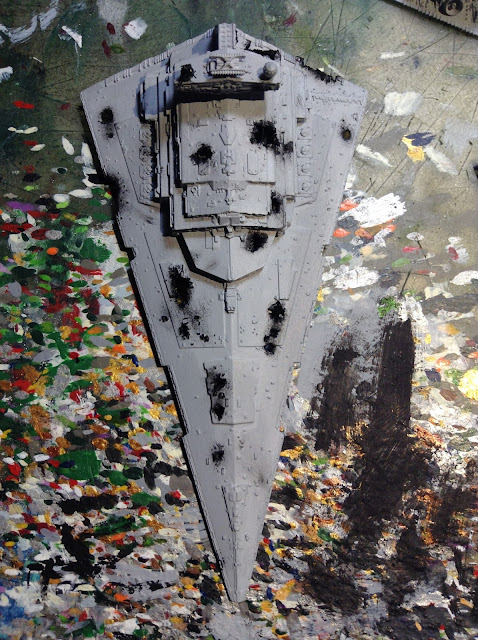
Hull breaches!


Big ones here.


A few more breaches and chunks missing from the ship here and there.


Ship assembled but not glued yet. This was one to see how the ship looked whole and how the hull breaches looked.

Big ones on the underside.


Here we can see one tear in the ships hull that has a bit of a gap in it. better fix that up.


Adding the side walls.


And here is the first little box of the inside I added to to cover up all the hole breaches on the inside, giving the ship some more detail that way. The guts of the ships were made from a pile of spare bits and some styrene to build a housing box.


Covering up the breach on the underside. A shame it can't all be seen on the finished model, yet it still adds this nice little touch to it all.


Some spare parts detailing the innards of the ship.


You are able to still see the details of the ships innards, even through a small view point!
Until it gets painted however... 


More inner details for the hull breaches. Honestly building these little boxes for the inside of the ship was one of the more fun parts of the build.


Lets start painting!


Unfortunately I forgot to take any photos while I was painting the model, but at least you get the finished painted parts.


Destroyed engine with a wire frame giving it is extra detail to it all.


Painting of the inner compartments.


Model built and painted. On wards! To the diorama!


I loved doing all these black scorch marks, the model looked so bland and boring without them. That's partly why I decided to build a crashed Star Destroyer, grey/white Star Destroyers are rather dry when the only other colour you can add to it is the blue glow for the engines. 


Still able to see all the little details on the inside of the model.


Building the crash site.


A sketch guide to the base of the model. And a mix guide for the paints I used for the ship.

Sketching out the base.


The darkest part represent the areas of the model that would be most covered in 'sand.'


Putting the base, and burying the model. I used Green Stuff as a means for covering the base. These are just the photos from the first covering of the base with the putty. Several more layers of putty were added to the model after the base was covered in putty. Particularly on the front of the ship to give the impression it was buried pretty deep in the sand when it crashed. 


Once the putty had been shaped into a potion and into a pose I liked, I set about turning it into a desert landscape. My first step was to cover up the Green Stuff in a sand tone colour of paint, then I proceeded to cover up the model in Tamiya landscape effect Sand, giving the model the desert look I was aiming for. And after all of that had finished, I covered the Star Destroyer in a layer Vallejo sand pigment, helping the model blend into its dessert environment, and managing to help bring out some more details of the ship in the process.


And here is the final finished product of my, 'Crashed Imperial Star destroyer on Jakku."


Building this model was a difficult and long process, but in the end it turned into a fun learning experience. I was able try and test out new methods and generally have some fun wreaking up a model. I knew that as soon as I had this model that I wanted to build something different, so I did, you can always be surprised by the results of your actions when you choose to think outside the box.